On long rides, being prepared can mean the difference between finishing your ride with a smile—or calling for a ride home. While we all hope our rides go smoothly, mechanical issues, or flat tires can derail a good day on the bike. That’s where your saddlebag comes in.
A well-stocked saddlebag is one of the smartest investments you can make as a cyclist. It’s compact, out of the way, and packed with the tools and essentials that can get you out of a jam when things don’t go as planned. Whether you're riding road, gravel, or MTB, having the right gear with you can keep small problems from turning into big ones.
In this post, we’ll cover everything you should carry in your saddlebag—from absolute must-haves to a few extras that are nice to have for longer or more adventurous rides.
Multitool
The core of every well-equipped saddlebag is the multitool. It’s your first line of defence when something goes wrong mid-ride—whether it's a loose bolt, a slipping seatpost, or even a broken chain. A quality multitool can save your ride and get you back on the road or trail quickly.
That said, not all multitools are created equal. It’s important to choose one that suits your specific bike and riding needs. For example, if your bike’s cockpit hardware uses a T25 Torx bolt (common on stems and disc brake rotors), make sure your multitool includes that bit. Similarly, if your thru-axles or crankset bolts require a 6mm or 8mm Allen key, those should be on there too.
Some multitools go beyond the basics and include a chain breaker, spoke wrenches, tire levers, or even a quick-link storage slot. These extras can be incredibly helpful, especially if you're venturing far from home or riding solo. Just keep in mind that while more tools mean more versatility, they can also add weight and bulk—so it’s a good idea to balance utility with packability. Fortunately, most modern saddlebags have enough room to accommodate a well-equipped multitool without issue.

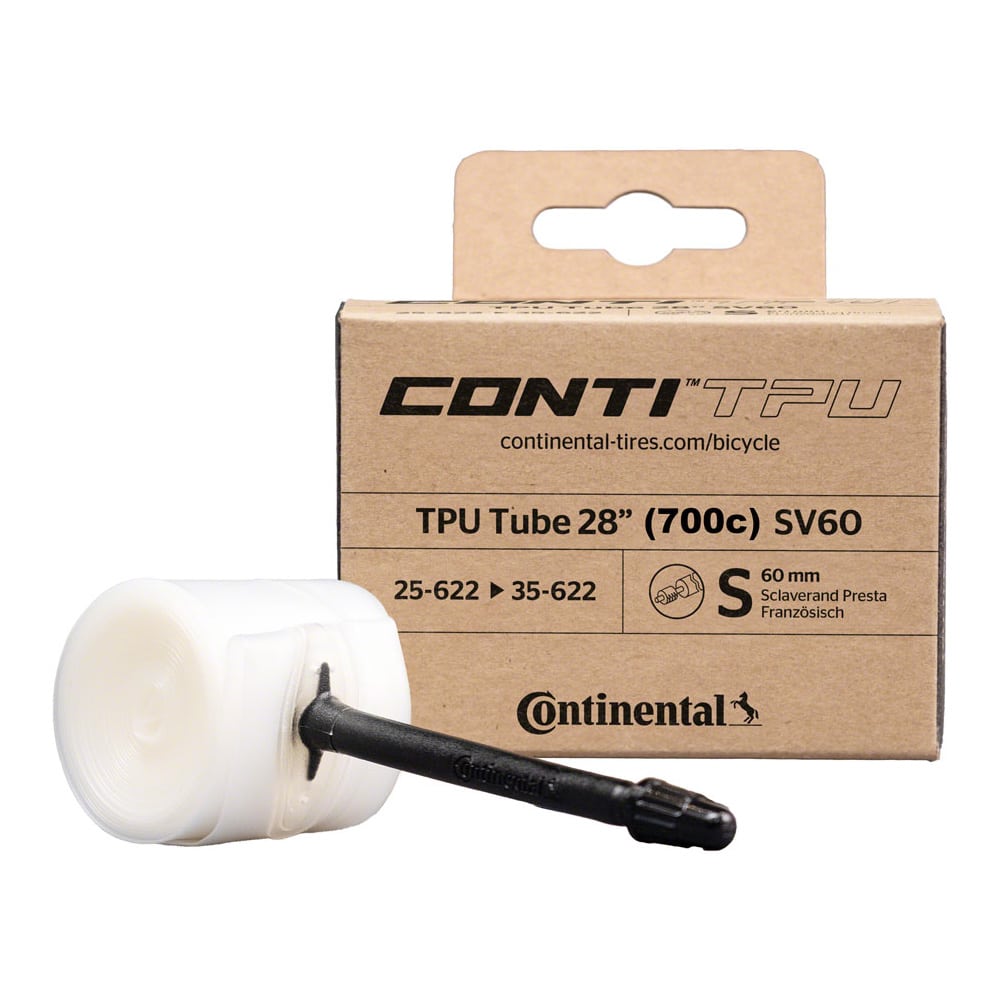
Tube
A spare tube is a non-negotiable item in any saddlebag. Even if you're running a tubeless setup, a tube can be a ride-saver when a puncture is too large for sealant or a plug to handle. Having a tube on hand means you can always revert to a traditional repair and keep rolling.
When choosing a tube for your saddlebag, make sure it’s compatible with your specific bike setup. Pay attention to four key details: wheel diameter, tire width, valve type (Presta or Schrader), and valve length. For example, if you're running deep-section rims, you'll need a tube with a long valve—typically 60mm or more—to reach through the rim. And if you have 28mm road tires, a tube sized for 40mm gravel tires might not fit properly and could cause performance issues or installation headaches.
If space is tight, consider carrying a TPU (thermoplastic polyurethane) tube instead of a standard butyl one. TPU tubes are compact, ultra-lightweight, and have the added benefit of lower rolling resistance. They're an especially good option for riders who want to save weight without sacrificing peace of mind.
For those riding with tubes already installed, packing two spare tubes is a smart move. Multiple flats can and do happen—especially on long rides or in rough conditions—so having a backup for your backup can make the difference between finishing your ride or calling for a pickup.
Pro tip: Store your spare tube in a small zip-lock bag or wrap it in plastic wrap. This keeps it clean, protects it from abrasion inside the saddlebag, and prevents sharp edges (like multitools) from puncturing it.
Tube Patch Kit and/or Tire Plug
A tube patch kit is a compact, lightweight addition to your saddlebag that can be a real lifesaver—especially on longer rides or when you’ve already used your spare tube. If you get a second flat, a quick patch can get you rolling again without needing to call for a rescue. Most patch kits include a few adhesive patches or vulcanizing patches, some sandpaper or a metal scuffer to prep the tube surface, and basic instructions. They take up virtually no space, so there’s really no downside to carrying one.
For tubeless riders, a tire plug kit (often called a "bacon strip" kit) is an equally essential item. Tubeless setups are great at sealing small punctures on their own, but larger cuts or holes can be too much for sealant alone. That’s where a plug comes in. With a simple insertion tool and a small rubber plug, you can quickly seal a hole and be back on your bike in minutes—no need to remove the tire or install a tube.
Most tubeless plug kits are small enough to stash in your saddlebag or even tape discreetly to your frame. Some multitools even integrate a plug tool right into the body, which is perfect for keeping things streamlined.
Pro tip: If you’re running tubeless tires, carry both a plug kit and a spare tube. Between the two, you’ll be able to handle almost any flat you encounter on the road or trail.
Pump (in Pocket) or CO₂ Cartridges with Inflator
When it comes to inflating your tire mid-ride, you’ve got two main options: a mini pump or a CO₂ cartridges with an inflator head. Each has its pros and cons, and the right choice often depends on your priorities and how much space you have.
A mini pump is the most reliable option. It never runs out, doesn’t require replacements, and works in all conditions. Many modern pumps are compact enough to fit in a jersey pocket or mount discreetly to your frame. While they do require more time and effort to inflate a tire, you’ll never be left stranded because you ran out of air.
On the other hand, CO₂ cartridges offer a fast, no-sweat solution for tire inflation. They’re incredibly compact and can easily fit inside most saddlebags. With a CO₂ inflator head, you can reinflate a tire in seconds—a huge benefit if you're racing, riding in bad weather, or just want to get going quickly. However, each cartridge is single-use, so it’s a good idea to carry at least two. That way, you have a backup if your first attempt fails or if you get a second flat.
Keep in mind that CO₂ air tends to leak out faster than regular air, especially with latex tubes or tubeless setups, so you’ll still want to fully inflate with a floor pump once you get home.
Pro tip: If you're using CO₂, make sure the inflator head is compatible with your valve type (Presta or Schrader), and practice using it at home first so you're not fumbling with it roadside.

Tire Levers
As simple as they may seem, a pair of tire levers can make all the difference when you’re dealing with a stubborn tire on the side of the road. Modern tubeless tires and tight-fitting clinchers can be notoriously difficult to remove by hand, especially if your hands are cold or wet. That’s where tire levers come in.
Most levers are lightweight, made of durable plastic, and designed to snap together for easy, compact storage in your saddlebag. Two is usually the magic number—one to hook under the bead, and the second to work your way around the rim. Just be sure the levers you choose are rim-friendly, especially if you're running carbon wheels.
Pro tip: Avoid cheap or overly thin tire levers—they’re more likely to snap under pressure. Investing in a quality pair (like those from Pedro’s, Park Tool, or Lezyne) will pay off the first time you’re dealing with a tight tire and a flat.

Money
Keeping a bit of cash tucked into your saddlebag is a small move that can go a long way. Whether it’s for emergencies or just an unplanned snack stop, a few bills can make your ride a lot less stressful when things don’t go as planned.
Cash is especially useful if you find yourself with an unfixable mechanical and need to catch a ride, pay for a cab, or grab a drink or snack at a rural gas station or corner store that doesn’t accept cards. It’s also handy if you’re bonking hard and need quick calories—many convenience stores still have minimum charges for card purchases, and small amounts of cash can help you bypass that hassle.
Pro tip: Store the cash in a small ziplock bag or wrap it in plastic to keep it dry and clean. Tuck it into a side pocket of your saddlebag or inside your patch kit so it stays out of the way but easily accessible when needed.
Quick Link
A spare quick link (also known as a master link) is a simple but essential item that can save your ride in the event of a broken chain. Chains can snap due to wear, shifting under load, or debris on the trail or road, and having a compatible quick link on hand allows you to make a fast repair and keep rolling.
It’s crucial to make sure the quick link in your saddlebag matches your chain in both brand (if possible) and speed—10, 11, and 12-speed chains all require different links, and they are not cross-compatible. For example, a quick link for a 12-speed SRAM chain won't work properly on a Shimano 12-speed drivetrain.
In a chain break scenario, your multitool needs to have a chain breaker to remove the damaged link before installing the quick link—so double-check that yours includes one. Some riders also keep their quick link taped to the inside of their saddlebag or tucked into a small sleeve to prevent it from getting lost or dirty.

Extras
Once you've covered the essentials, there are a few bonus items that can make your ride a lot more comfortable—or even save the day in less common situations. These aren't must-haves for every ride, but if you’ve got the space, they’re smart additions for longer outings or unpredictable conditions.
- Small bottle of chain lube – Especially useful for wet or gritty rides, chain lube can help prevent squeaking, skipping, and premature drivetrain wear. On long gravel or endurance rides, a quick re-lube mid-ride can keep your bike running smoothly all the way home.
- Hand warmers – These are a game-changer during chilly spring or fall rides. Slip a pair into your gloves or shoes if the temperature drops unexpectedly. They weigh next to nothing and offer serious comfort if you're caught in the cold.
- Spare AXS battery – If you’re running a SRAM AXS electronic drivetrain, a dead battery can leave you stuck in a single gear—or worse, unable to shift at all. Carrying a fully charged spare battery ensures you’re never stranded by something as simple as a low charge.
- First aid bandage and alcohol wipe – A small first aid item like a bandage and alcohol wipe can be incredibly helpful if you take a spill. It’s not a full medical kit, but it’s enough to clean and cover a scrape until you get back home safely.
Conclusion
A well-packed saddlebag is your insurance policy on every ride. While you hope you won’t need most of what’s inside, having the right tools and spares can turn a potential disaster into just a minor inconvenience. Whether it’s fixing a flat, dealing with a broken chain, or just grabbing an emergency snack, a properly stocked saddlebag keeps you self-sufficient and confident out on the road or trail.
Don’t forget to check your saddlebag every couple of weeks or at least once a month. Tubes can get damaged over time, CO₂ cartridges might have been used and forgotten, and items like chain lube or bandages can dry out or wear down. A quick gear check before a big ride can save you a lot of stress when you need those items most.
Ride smart, stay prepared, and enjoy the peace of mind that comes with knowing you’ve got everything you need right under your saddle.